So, I've been experimenting with how to wear them and scaring myself every time I glance in the mirror as I walk by. It is taking some getting used to. I like them, but am still just adjusting.
I remembered when I had my hair short and had bangs, I really liked to wear head scarves with it, for a vintage/retro flair but alas, I have no scarves anymore.
I went on Pinterest to try to find some ideas, but for once in my life, didn't like anything I saw on there. There were lots of cute headbands ( the plastic kinds but those hurt my head, or the kind that have elastic on the back) but no cute head sash ideas.
I decided to just make my own.
Handmade Head Sashes

I actually made several, and it just took me about 10-15 minutes for each. That's my kind of project! ;)
Would you like to make a few for yourself?
If you sew, you may never buy one of these again- it's that simple.
If you don't sew...scroll down to the bottom, because I'm giving one of these away and you could get your very own head scarf for free!
Okay, here is the tutorial:
Find some pretty fabric (this is a great way to use up all of those long scraps you probably have in your fabric stash. I always end up with long skinny pieces of fabric after doing a project, for some reason.)
Be very scientific and wrap the fabric around your head to see if it's long enough to fit, plus a little extra length for tying. ;)
Decide what width you want your head scarf to be. I did one wider one, and a few skinnier ones. It's up to you. Keep in mind that you'll be folding the fabric in half lengthwise, and the width of the folded fabric will be the width of your finished scarf.
Once you have your width and length figured out, fold the fabric in half right sides facing each other, then iron it flat. Make sure the edges are lined up with each other nicely.

Then cut the ends at an angle, like this.

Sew along the raw side of the fabric only. Do not sew the ends!!

Take a safety pin, pin it near one of the ends, and feed it through the tube you just made. As you pull it through to the other end, your tube will turn right side out.


Once your tube is right side out, iron the seams flat. It helps to kind of flatten them out with your fingers first before you iron them.
 |
| Here is my sash, half ironed. See how nice the ironed part looks? |
Then, tuck the ends of the sash under about 1/4 in. and iron flat. To get the edges even, first fold one side under and iron, like this.

Then, flip your sash over and fold that end under, making the edges even and the angle the same on your sash end. Iron flat.

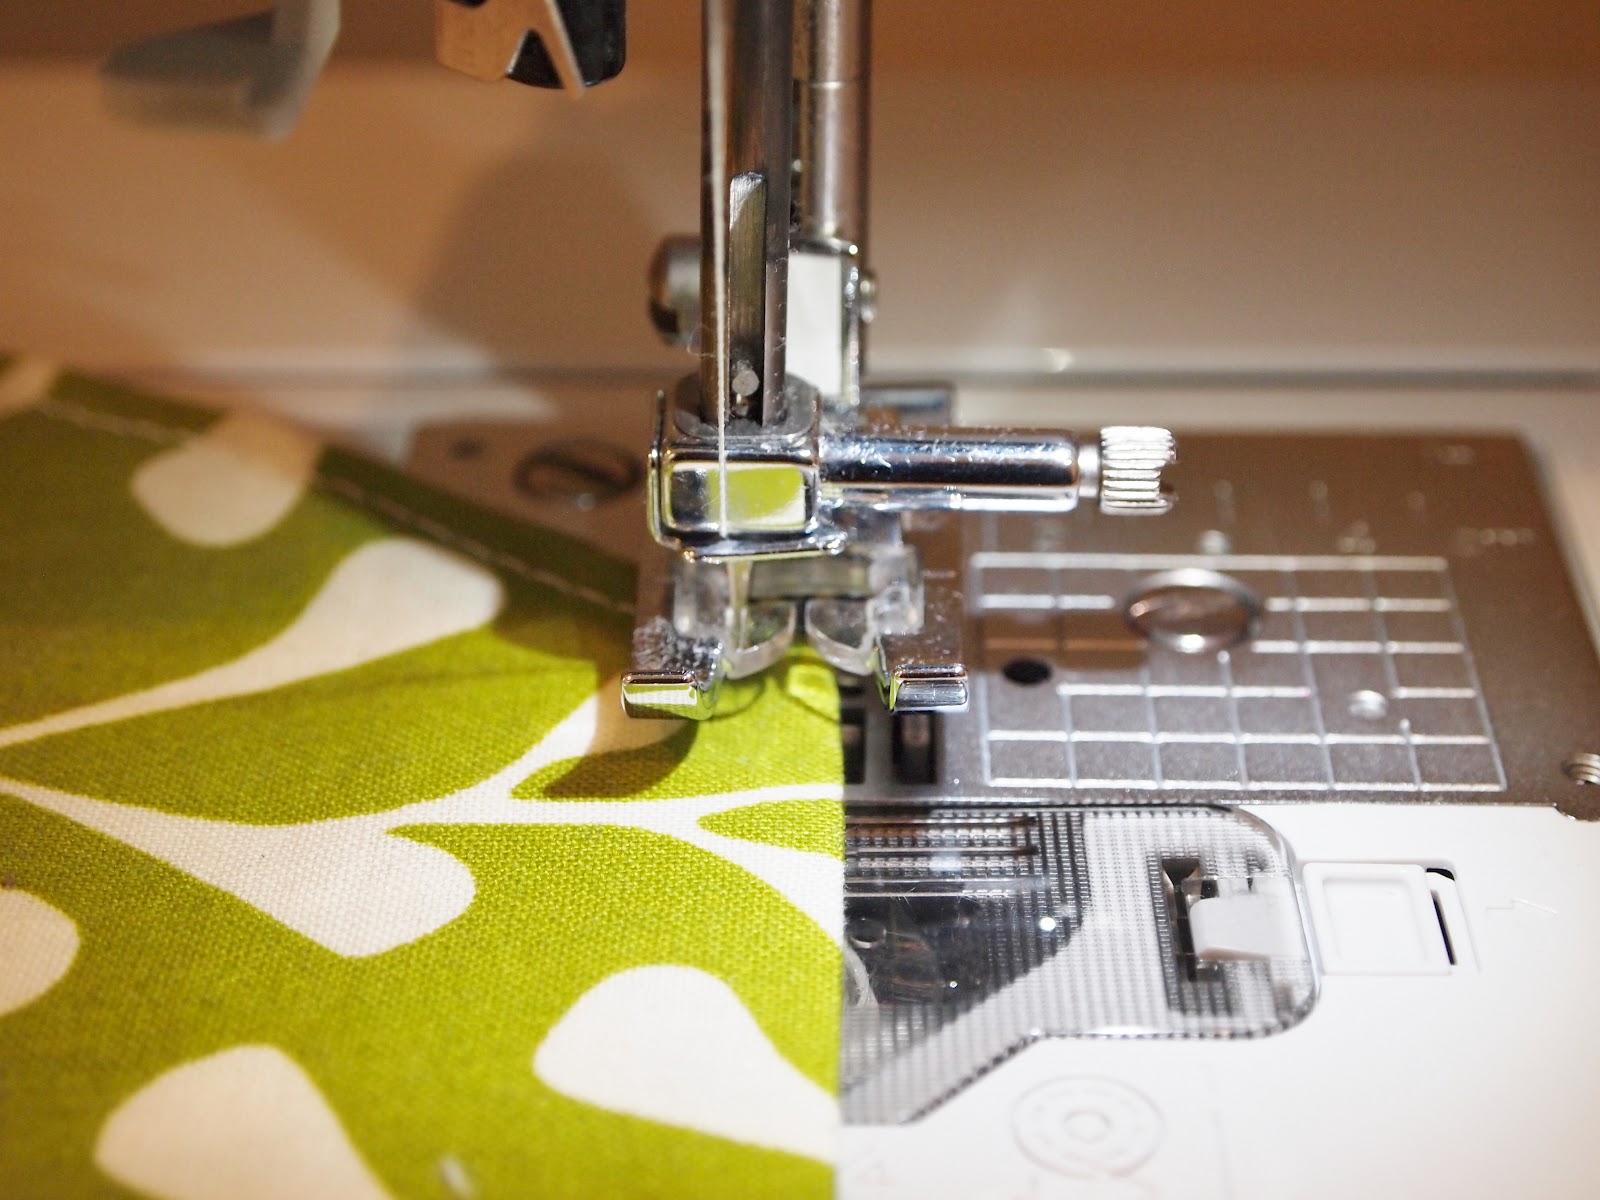
Next, simply topstitch (my stitch length is 4.0 for this) around the whole sash, making sure you secure those little end bits. Start on the slanted part, then carefully sew to the end. Don't forget to backstitch, so your thread doesn't come unraveled!

When you get to the end, simply stop your sewing machine, lift the presser foot and turn the fabric so the long part is under the needle. Then sew again. I used about a 1/4in. seam allowance for the top stitching, but if you want you can go closer to the edge.
When you get to the end, back stitch again to secure your thread, then cut off the extra bits of thread. Iron one more time to make everything nice and flat and finished-looking.
You're done! How fast and easy was that?

Now, would you like to win one for yourself, or a friend??
This is my first giveaway, I'm so excited!!
 |
| Spring Green Vines |
 |
| Brown Botanical |
 |
| Lavender Leaves |
How to Enter:
~Like Sweet Swan Songs on Facebook
~Leave a comment here in the comment section with your email or blog URL included so I can contact you if you win. Tell me which sash you'd like. (apparently I have a thing for botanical prints, eh?)
That's it!
I'll draw a winner on Saturday, March 17th and notify the winner via email.
Good luck!
4 comments:
Hi Becca, i love that you are so creative! I would love the lavender one if i win! :) Love ya!
I love it!! i NEED a sewing machine!!!!
I love those!! very cute!! :) you are so talented... :) Love ya!!
If I leave more than one comment do I get my name in the hat more than once.. hehe ;) love ya!! Great idea on the give a way!! If I win send it home with Emily.. and be sure to tell me so she can't keep it.. ;)
Love ya!!
Post a Comment