Showing posts with label thriftiness. Show all posts

Thursday, October 11, 2012

KCWC Day 2 and 3: Lounge Pants

Hi, Tuesday was day two of Kid's Clothing Week Challenge and  I made some lounge pants for Ethan out of an old cotton drop cloth that was leftover from making curtains from the living room.

I used Made by Dana's flat front kid pants tutorial as a jumping off point for the flat front; although I already have made several pairs of pants using this method for kid pants. I kinda mixed and matched with the instructions, although I think I used Dana's more because she was using cotton fabric and the other site uses knits.

I like the way the pants turned out but might add pockets in the future to make them look less "loungy" and more like regular pants.


Either way, Ethan loves them!!
They are comfy and since the weave is more loose like linen; dirt washes out easily.
I found this out first hand since one of the first things E did was go out and play in the dirt pit in them.
His cousin was visiting from Arizona and those boys had a blast!


I didn't do any sewing for the kids Wednesday; I finished up the curtains that I've been sewing for the living room and then didn't have time to whip up anything else.
At least I sewed something, right??


Tuesday, August 21, 2012

Natural Body Care Series:A Discovery Of Face Wash From An Unlikely Source

A couple of nights ago I was taking a shower and reached for my face wash, then remembered that I'd used the last of it the day before and forgot to buy more.
(drat!)

Face cleanser is one of those things that I've wanted to make on my own but am kind of scared to/don't have the money to buy expensive essential oils and beeswax or shea butter or anything like that, so I haven't made it on my own yet.

I was kind of in a pinch, because I needed to wash my makeup off before bed so I just grabbed our Homemade Tooth Powder and used that.
Now, before you think I"m crazy, let me tell you what's in it.
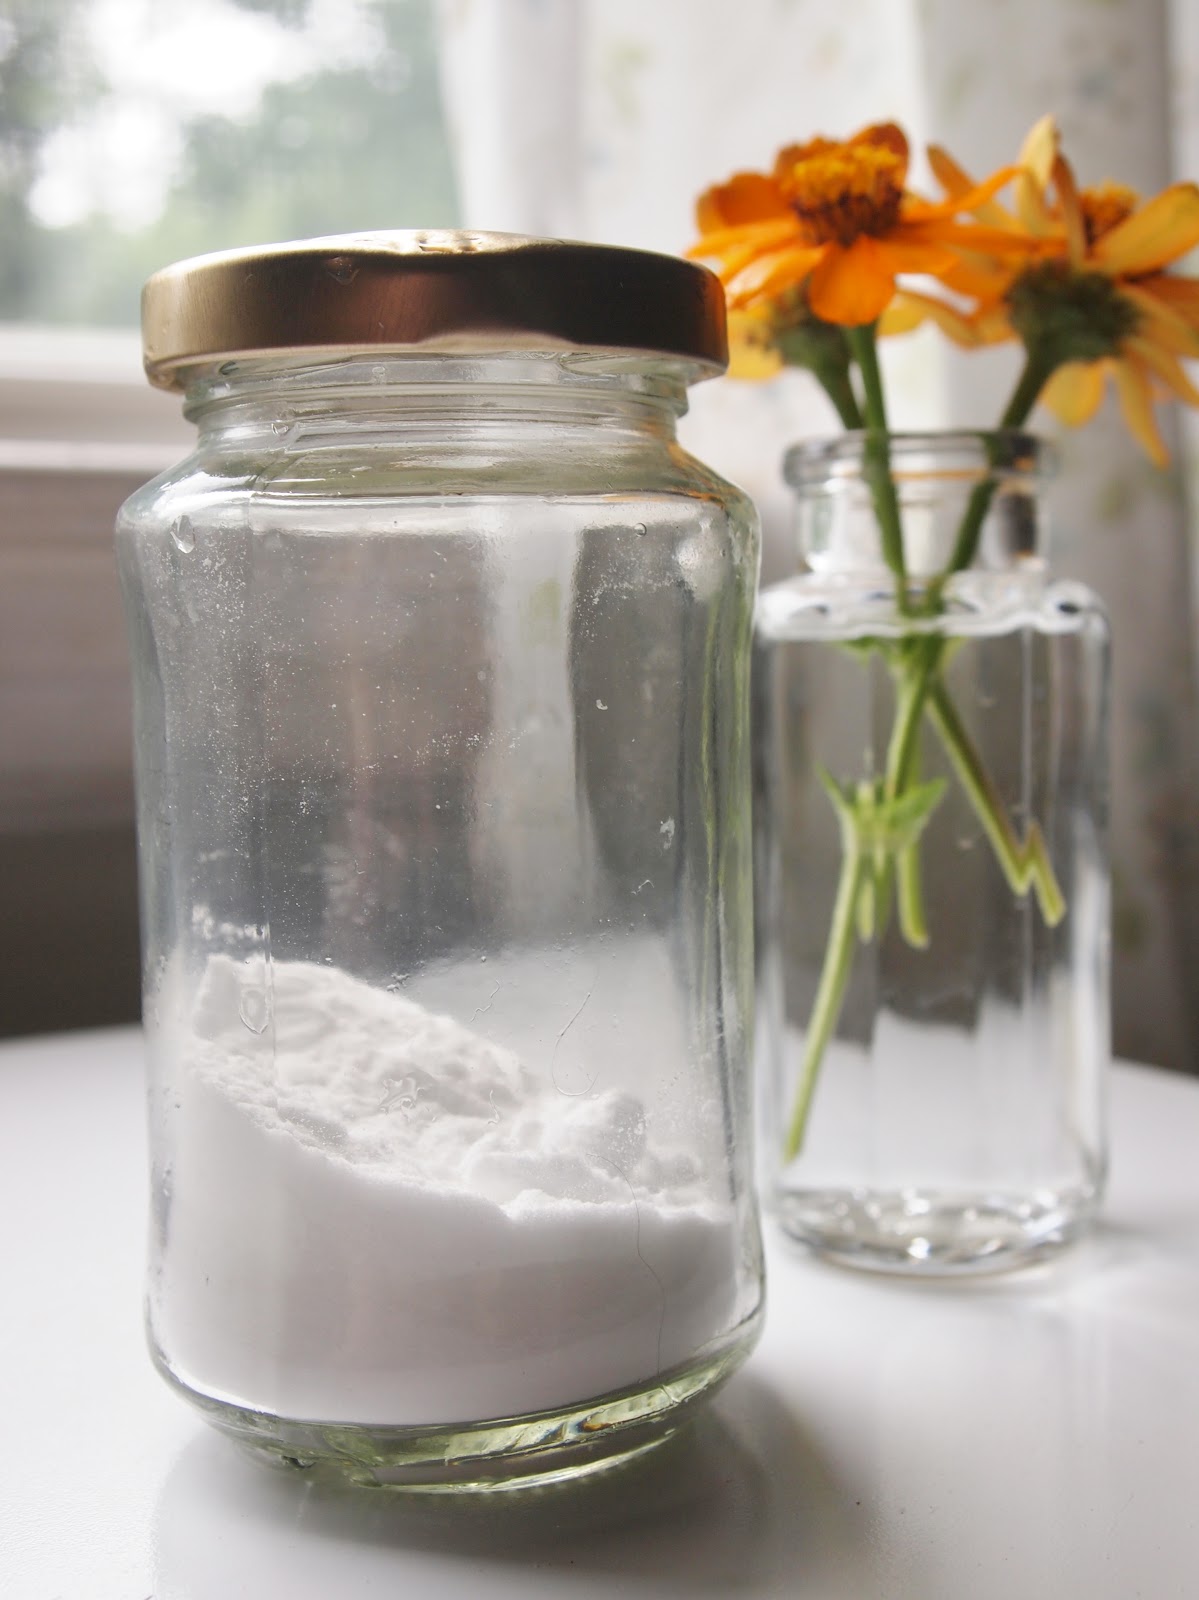
It has baking soda, coconut oil, a tiny bit of salt and some peppermint extract.

Guess what gals? It worked great!

The peppermint made my skin all tingly and clean and refreshed, the baking soda and salt exfoliated my skin and the coconut oil moisturized it and took off my makeup, leaving my face fresh and clean and feeling soft.
I am SO happy I discovered this!!

I used it again last night and man, I loved it even more the second time since I knew what to expect.
If you've ever used Burt's Bees Deep Cleansing Cream with Soap Bark and Chamomile, that's what it reminded me of.  Except without the soap bark or chamomile. But you get that same feeling on your face as you do with the Burt's Bees cleanser.

Anyway, if you want some frugal face cleanser, try this out! Just follow the recipe I have on my
Homemade Tooth Powder post and add in about a teaspoon of coconut oil and you're in business.
I love that natural ingredients have so many different uses!!


Thursday, August 16, 2012

Natural Body Care Series: Homemade Deodorant

Hi!

 It's been a while since I did a Natural Body Care post, mostly because we needed to use up the rest of our store-bought deodorant before I delved into the world of making my own AND because I kept forgetting to buy coconut oil.

I know you can get this way cheaper on Amazon, but I just wanted to try it
 with a little bit to begin with, so I didn't have a huge jug of coconut oil sitting around.

I know. Excuses, excuses.

If you're interested in any other Natural alternatives to store-bought hygiene products, check out the
Natural Home and Body Care tab at the top of my blog; all the other posts I've done on this subject are up there.

So.
Homemade deodorant.
I have to confess that I was kinda scared to try this one, mostly because when I was a kid, my mom and dad made a switch from regular deodorant with aluminum in it (which can cause cancer) to the natural "crystal" deodorant and it did NOT work for them.

At all.

I still remember the B.O. and it wasn't pleasant. (Sorry mom and dad. Love you! ) :)
They switched back to regular eventually and I was left with the distinct impression to NEVER use natural deodorant, unless I wanted to smell like I didn't use it at all.
Which, for a high school girl would pretty much be the worst thing ever.

Thankfully, I'm not in high school anymore -it's been 10 years...wow.
I've overcome that fear of natural deodorant and tried making my own and- it works!

So would you like to know how to make your own yummy-smelling, natural aluminum-free deodorant??

It's pretty simple.

I used about 1/2 cup baking soda
4 or 5 Tbsp virgin organic unrefined coconut oil
1 tsp or so of cornstarch


Take these ingredients and mix them around until you get the consistency you want, then put it into the container of your choice. It looked like frosting when I was done mixing it and smelled so good, I may have tasted it.
(It didn't taste like frosting.Unfortunately.)


I was using an old deodorant container that I'd rinsed, so I wanted the deodorant to be pretty thick so it'd stay in the container and not ooze out.

Take that, lady speed stick! I made my own, better version of you!!

The old deodorant was REALLY hard to wash out!

Keep in mind that coconut oil will liquefy when it gets warm, so keep your deodorant in the fridge if you don't want it to melt.
To use, just take out of the fridge and apply as usual. The coconut oil will soak into your skin so it doesn't stain your shirts or anything, and you'll smell amazing.
Every time I put it on, I want to eat an Almond Joy. Thankfully, I never have any around the house. ;)


This isn't an antiperspirant (which really you shouldn't use anyway since sweating is your body's way of getting rid of toxins and cooling itself- why trap toxins in your body on purpose?)
so you'll still sweat, but it shouldn't smell.
The baking soda neutralizes the odor and the coconut oil moisturizes your underarms and provides that amazing aroma of tropical paradise. :)

I love it, and its so easy to make!
Don't think I'll ever go back to using store-bought deodorant, that's for sure.

Have you made homemade deodorant before?
Did you use different ingredients? I'd love to get some more recipes and try them!


This post is shared at Frugal Days, Sustainable Ways.

Friday, July 20, 2012

T-shirt Refashion: How To Make Your Kiddo's Clothes Fit Longer

Hi!

As you already know, children tend to grow like weeds; sprouting up literally overnight sometimes.

My Ellie May has been going through a growth spurt lately, and all of a sudden a few of her t-shirts were looking a little short.

She is going to be 3 in November, but already she is starting to grow out of her 3T shirts!!!
Seriously. She needs to slow down.
Ah, I guess she can't help it with a tall daddy (6'4") and tall momma (5'9").

Her sweet belly was starting to almost pop out from under the hem to say hello and while it may be cute, that wasn't really a look I'd like her to have.
 Modesty was at stake!


SO.

I decided to go to the store and buy her all new shirts.

Nope.

Just kidding!

Why buy more when I can just modify the ones she already has??

We have a ton of 4T shirts in the attic, waiting for her to grow into them (ahem..) but unfortunately, they're all long sleeved, for fall and winter.
I decided to just lengthen a couple of her existing t-shirts so that by the time she grows out of them, maybe it will be cold enough to wear the larger long sleeved ones. (hopefully.) :)
This is what I started with:


It was really pretty simple.
I took some knit fabric I had left over from my Pleated T-Shirt Pillow that I made last spring and cut a strip about 4"wide and 25" long.


 I had measured the width of her shirt and it was 12", so I doubled that length plus added an inch for seam allowance.
Side Note: When you're sewing with knits, make sure to use a ballpoint knit needle on your sewing machine. It looks SO much nicer and you won't have weird holes or puckers in your fabric.
I didn't know to do this when I first started sewing, and boy can you tell a difference!! Those first few knit projects I did looked a lot rougher.

Make sure to get the ones that say "Jersey" or Ball Point" or "For Knits" on them, like this.


 Since the bottom half of my fabric strip was already hemmed and knit doesn't unravel, 
I just pinned the strip of white fabric to the inside of the bottom hem of her pink shirt.


Then I sewed it on and aha! A longer shirt.


It looks pretty cute too, if I do say so myself.
Of course, it looks even cuter when she's wearing it.


The other shirt I started with a 4"wide x 36" long piece of fabric and gathered it a bit for a ruffle


(here is a great tutorial for gathering/ruffling if you don't know how) 

and sewed it on the bottom hem of her shirt, leaving the bottom hem unfinished for a more deconstructed look.


I accidentally missed a little part of the back of the shirt at one point,

oops!

 so I had to go back and fix it.


much better. :)

Eliana loves her "new" shirts and I love that I don't have to buy her any new shirts!!! :)


Incidentally, the day I sewed these I was going down the list of blogs I read regularly and the fabulous Ashley at Make it Love it had the same situation on her hands with her daughter, except she chose to make some long-sleeved shirts into cute flutter sleeved ones. So there's another option if you want to use some long sleeved shirts from the next size up when your little girl gets taller overnight. I may make some flutter sleeved shirts for Eliana if she keeps growing so quickly! :)


Thursday, June 7, 2012

Refashion: Maxi Skirt & Leopard Print Skirt

Hi!
Today I'm going to show you a little re-fashioning I did last week.
On two different things, without costing me a penny.
It pays to shop your existing wardrobe!


I had a maxi dress in my closet- you know, one of those gorgeous flowy, gauzy ones that has shirring across the bust and then little spaghetti straps up top so if you wear a bra it looks weird but you don't want to go bra-less because, well, that's weirder.. and a tank top underneath just looks bulky?
Yes. One of those dresses.
I wore it a few times last year and the year before, but didn't feel comfortable really so mostly it just sat in my closet. Then one time when I wore it one of the straps broke.
I was thinking of getting rid of it but loved the colorful, cool fabric so instead....

I cut it up and made it into a skirt.

Basically, I just cut off the top part, leaving a few rows of shirring for elastic, then hemmed the raw edge to make a high waisted maxi skirt. Love it. It looks so cute with a tank top tucked in or with a shirt untucked! I just need some gladiator sandals to go with it and I am set. ;)

A Close-up of the waistband. 


Then I had this extra shirred fabric sitting around, waiting to be used...

Enter the next refashion.
I got a cute leopard-print dress from Target way back last year when my Mother-in-law and Sister-in-law came to visit around Thanksgiving, and wore it once or twice, but it just didn't fit like I wanted it to.
It was too ruffly up top, so I cut the top off and wore it as a skirt and loved it.
But, since I didn't really hem anything when I initially cut it up, it started looking a little bit ragged.

(I had pictures of the " before", but for the life of me I can't find them!)

I decided to fix the waistband.
I unpicked the seam and took off the waistband and elastic and left the gathered part of the skirt still intact.

Then, I took the shirred fabric from the maxi dress and sewed it to the gathered skirt and now I have a whole new skirt!


I like how the pink of the waistband brings out the pink in the actual skirt.

I actually like it better this way- it's more comfortable because of the shirring and the skirt is a little bit longer, which is nice. And I have a pretty little pop of color peeking out from under my skirt!

Two refashions, zero dollars; for about half an hour of my time. Is sewing the coolest thing ever, or what?!
I'm pretty pleased with how they turned out. :)

Have you refashioned anything lately? I'd love to hear about it!

Monday, June 4, 2012

Natural Body Care Series: Baking Soda Face Scrub


It's been a few days since our last installment of Natural Body Care Products-
I've been slowly replacing our store-bought toiletries with homemade ones and am having fun sharing them with you!

First, I made Homemade Body Wash out of bar soap, castile soap and water. It works great!

Then, I made Avocado Lemon Hair Conditioner last week and am enjoying it thoroughly.

The first time I used it, I used WAY too much and my hair ended up being super oily. Like, 'hair that just came from a photo shoot at the beach, messy, wet look even though it's dry' oily. Ick. Not what I was goin' for at all. ;)
I figured out that if you just use a small scoop, it works much better. And if I use it before I shampoo, it seems to work better for my hair because my shampoo gets out any extra oil that would weigh down my hair.

On to my next natural body care experiment:

Baking Soda Face Scrub


I've been having problems lately with clogged pores on my forehead- I made the mistake of using body lotion on my face while we were on vacation instead of facial lotion.
(Don't EVER do that! You will break out and get bumpy clogged pores. Trust me. I should've just went and gotten some facial lotion.)

Anyway, I was asking a friend what she does for clogged pores, and she told me about just using baking soda as an exfoliator. (Is exfoliator a word? My computer doesn't think it is. If not, it is now!)

I tried using baking soda and it's really nice!
My pores are looking a little bit better too, although they're not totally clear. But they look overall a bit smoother and my face feels so much cleaner!

Here's what you do:
(it's so easy I almost feel silly writing a whole post about it!)

~Start with a make-up free face.

~Get some baking soda out of your cabinet.


~Open up your pores by splashing your face with really warm/hot water or by holding your face over a pot full of steaming water.

~Then, pour a bit of baking soda into your hand and scrub it around on your wet face for about 30-45 seconds.
Make sure you really concentrate on your problem areas- for me, that's my forehead, chin and nose.


~Rinse with slightly warm water, then follow with your regular moisturizer.

That's it.

Try it!
It feels so nice; the baking soda is a gentle yet effective exfoliant because the little particles just rub away dead skin and get the dirt out of your pores without any of the synthetic additives that you'd get in a store bought exfoliating scrub.
If you wanted, you could add a bit of essential oil to your baking soda for an aromatherapy-like scrub. (I'm imagining lavender, mint or eucalyptus, or whatever your favorite herbal scent is.)
I just used plain baking soda because that's what I have, but I'm looking forward to playing around with it and seeing if there are any combinations that I like.

Have you ever used baking soda as an face scrub? How did it work for you? I'd love to hear about it! :)

If you want to know some more uses for baking soda, check back soon because I'm in the process of writing a post about all the ways I can think of that baking soda can be used for. There are so many!


I'm also linking up to The Prairie Homestead's Homestead Barn Hop and Like a Mustard Seed's
Living Green Link-Up.  There are SO many other talented people out there sharing a wealth of knowledge about all things frugal, homesteading and natural; go check them out!

Saturday, May 19, 2012

Refashioned Shorts: Men's to Women's

Have you ever seen a pair of men's shorts that you just loved but they didn't fit how you wanted them to because, well...
you're a woman??

I know I have. Sometimes there's just a pattern or a style that is so nice, but I can't find a similar pair in the women's section. What to do??

Hubby has this pair of white and blue striped shorts that we found at the thrift store for $3 a few years ago, but he has never really liked them much. It was one of those things I picked out for him because I liked them, and he wore because I liked them, but he never really loved them. (oops!)

I had them in the pile to go back to the thrift store and walked by them this morning and thought, " Hey why don't I try to alter them so that I can wear them?"

So I did!


Shorts Refashion: Men's to Women's


Here is what the shorts looked like before I did anything to them:


Baggy, too big and kinda sloppy.
I have to tell you, when I was in high school I did wear guys' shorts and liked it, but those days are over. (late 1990's!) I had this pair of camouflage cargo shorts that were so comfy! I'm sure I looked like a thug in them though. ;) 

As a mom, I feel sloppy often enough, I like to look a bit more classy when I can help it! ;)
No baggy surfer shorts around here anymore!

Here is how I altered the shorts:

I found a pair of shorts that fit me well and laid them on top of the bigger shorts.
I wanted to simply alter the width of the men's shorts; not the length so I kept the existing hem on.


Then I traced a line slightly larger than the legs of the khaki shorts; as I wanted this pair to be a bit more loose fitting but not too baggy.

If you look closely, you can see the lighter blue line that I used as a guide to sew along.
In true fashion to my math-hating self, I didn't measure anything, I just freehanded it.
Feel free to measure if you're more comfortable with that. :)

Then I sewed up the lines, and tried the shorts on to make sure they looked okay, 
making adjustments as needed.
I cut the extra fabric off and zigzagged the edges so they wouldn't fray, then they were done!

Now I have another cute pair of shorts, that I can wear two ways!
~Trendy and Current: Rolled up legs and high-waist with a belt:


Or, the more Classic Bermuda Short look:

I only got one picture of this style, because it was the only one that turned out! 


Which do you like better? I like them both, and will probably wear them both ways depending on the day I wear them or if I want to dress them up or down. :)
It's so fun to re-purpose clothing into something new!
Hope you all have a lovely weekend.


~Becca


Tuesday, April 17, 2012

How I Am Weaning Myself Off Of Target

I don't know about you, but I have a terrible time spending too much money at Target.
Like, terrible. I can't help it.
I love Target.


I go in to get diapers or toiletries and come out spending at least $10 (usually like 20) more than I anticipated on a cute accessory, adorable home decor or a small toy for the kids, a snack, or some other thing that just called out my name in such a sweet voice I couldn't refuse.

Seriously, Ya'll.
At one point, I was going to Target almost every day.
Not necessarily to buy stuff, but when Ethan and Ellie were really little I went more just to have some contact with the outside world. Even if it meant ending that contact with the outside world with a screaming kicking toddler.

Then it morphed into sometimes spending money...then usually spending money...and then we were spending over $200 a month last year at Target on who knows what.
I couldn't even tell you what all I bought, but I was frittering away money that we didn't have to spend!

I mean, really! Why do they have so many awesome things?! I love their home decor- the candles, the prints on the sheets and pillows (which I never actually buy but always want) the simple white dishes, the cool designer clothing lines that are limited time offers, the dollar section, THE CLEARANCE SECTION...the marketing team sure knows what they are doing!

I've been feeling guilty about giving in to such materialism for quite some time but couldn't bring myself to stop....going....to....Target.

I think I'm finally conquering the Target-itis that has over taken me so unassumingly, wedging its way in little by little til it took over too much of my life.

(Hooray!)

My secret weapon?

First, when we were thinking about moving to Oklahoma a few months ago, where we were going to move didn't have a Target. This was almost a deal breaker for me. (which is SAD!) :)
WHAT?! No Target? Whatever will I do??

Um...save a lot of money that I would've otherwise spent.
Hm. Not a bad thing.
So I started weeding out my weekly trips to Target in preparation of (sniff) not having one available.
Turns out, we're staying put here in Tennessee, but I decided that even with a Target in close proximity, I was going to shop there less. Much less.


My next secret weapon?
Which is not a secret now...

At the beginning, it had to be drastic.
I started letting Tim take the car to work.
I know this wouldn't be an option for everyone, but we only have one car so if he takes it to work, I can't go to Target. How sad is that?! I had to physically ban myself from taking the car so I would stay away.
It worked.


Next weapon:

Shopping elsewhere for toiletries.
Sounds so simple, doesn't it?
 I felt like a genius when I figured out that other places have just as nice toiletries as Target does. duh!

I started buying our hand soap, "ziploc" bags, toilet paper and trash bags at Aldi instead.
It's cheaper, and I don't spend extra money on cute accessories sitting out at the ends of the aisle. So it could be doubly cheaper.
And, the Aldi brand of toiletries and paper/house products seem to work just as well.
In fact, I really like the hand soap better than Target's store brand.


Right now, I've conquered the addiction to Target down to going only when we need diapers, which is about every two weeks. Better yet, last time I went, I only bought...diapers. And wipes, because we needed those too. And batteries. But those were on the list.

I didn't buy anything extra.

YAY!!

Now, if I can just keep it up.....

Here are some good tips about smart shopping at Target, if you dare to enter the store.
I'll be keeping them in mind next time my daughter needs diapers.


Wednesday, April 4, 2012

Furniture Makeovers

Hi!
So I mentioned last week that we'd gotten some furniture from the thrift store and were going to redo it...then life happened. Our computer needed to get fixed, we went on vacation and..I am just now getting to showing you those pictures.

Our family went to the Goodwill last week and honestly, I wasn't expecting much. For some reason I never have any luck finding things that I actually like at Goodwill. However, this time, we hit the jackpot!

We found:

A cute side table ($5.99)


A quirky chair with pretty vinyl fabric on it ($9.99)


A "taters and onions" bin (to store potatoes and onions in) ($4.99)
Don't you just love the sunflowers?? (not...)


And several other smaller things- some dishes, a plastic shopping cart for Ellie and a wooden stick horse for Ethan, a small stool to be used for a bedside table.

We wanted to personalize the furniture and make it fit better in our house (ie, paint it with white spray paint) because we already have a lot of dark wood and our house is small, so white really brightens up the space.

Ready??

Here is the side table now:


And the chair:


And...I haven't finished the "tater and onions bin" yet- we need to get hardware on it but let me tell you, it looks WAY better now than it did with those sunflowers on it.

Painting these and seeing how nice they look inspired us and we decided to make over our secretary desk/hutch thing as well.

It looks like a million bucks!

Here is what it looked like before: blah. Too orangey and it made the dining room feel smaller. Which it definitely does not need. It had round, wooden handles on the drawers, I had just taken them off before the picture.


Here is what it looks like afterwards....ta-da!!


Isn't it gorgeous??

The best part is, we only spent about $30 on redoing it.
4 cans of white spray paint and some new hardware and bam! A whole new hutch. I can't stop looking at it.

Then a few days after all of this painting, we got this pretty couch from the Salvation Army, which is EXACTLY the kind of sofa I wanted but didn't want to (and couldn't) pay full price for.


LOVE.

Have you found some awesome things at the thrift store lately? Do tell!

Tuesday, February 14, 2012

February Menu Plan

I realize it's almost halfway through the month already (how did that happen?),
but I wanted to share our menu plan for February with you.

Last month, I talked about how I plan out the menu and make my grocery list so if you're curious how I do that, go here to find out. :)

We almost never eat out because the best way to save money on food is to grocery shop and eat at home! It also helps control what you are eating because you know exactly what goes into the food. We try to eat mostly unprocessed food- ie: food not from a box, but whole grains, fruits and veggies. I make our bread, granola and any sweets that we decide to indulge in. If you have to bake the treats first, it cuts down on the amount you eat! ;)
We buy free range eggs, organic grass fed beef, organic milk and as many organic fruits and veggies as we can afford and we're hoping to grow some food this year as well. Eventually we'd like to get chickens so we can have fresh eggs and pastured poultry for meat, but that may be a few years down the line.

Source


Back to the menu. I got off an a side trail! :)
This month, we are having a lot of soups since it's been cold. I love soup! It stretches forever, feeds lots of people, makes great leftovers/second meals and freezes well.


We also have a few "portable" meals to go in the car with us when we're on the way to the chiropractor. (Our whole family gets adjusted twice a week.)

I'm going to post dinner recipes only, because otherwise this would be a really long post!
Without further ado,

February Menu for the Swans:


~Crockpot French Dip & Swiss Sandwiches with AuJus 
This is from Maggie of Smashed Peas and Carrots and it is delicious!

~Roast with Root Veggies, Gravy and  Crusty French Bread Rolls

~Beef Stew

~Chicken Enchiladas, Rice and Beans

~Minestrone Soup and Green Salad

~Jamaican Black Bean Pot

~Ranch Chicken Chili

~Turkey Stew (using turkey frozen from Thanksgiving)

~Pizza

~Grilled Moroccan Chicken and Rice & Moroccan Carrot Soup

~Cow Meat Chili (actually with venison instead of beef, because Costco was out of organic beef when we went.)

~Chicken Salad Rolls with fruit or veggies

~Cuban Black Beans and Rice

~Tacos, Chips and Salsa

~Breakfast for Dinner

~Chili, Bean and Rice Stuffed Peppers

~Sausage Spaghetti

~Mashed Potato Soup


For lunch the kids and I usually eat leftovers or fruit and sandwiches, or hot dogs and fruit. Tim eats pizza or a sandwich at work.
For snacks we munch on popcorn made on the stove top (I'll post a quick how-to tomorrow),apples and peanut butter, chips and salsa, fruit, carrot sticks and ranch and whatever else needs to be eaten up.
For breakfast we almost always have either steel cut oats with raisins, frozen organic blueberries, cinnamon and milk or homemade granola. Occasionally we also eat bacon along with that. (Bacon is one of Eliana's favorite foods, she always gets so excited when we eat it for breakfast! It's also one of my favorites.)

That's our menu for this month!
 I usually end up making quite a few extra meals out of leftovers and sometimes we just feel like eating granola for dinner instead of cooking. (like tonight.)

I said we hardly ever eat out and that's mostly true, with a few exceptions. ;)
We had Papa John's pizza for dinner a couple of nights ago because we won a free pizza from "the big game" coin toss. (Score!)
And since it's Valentines day, today hubby and I went out to lunch at a local Mexican restaurant after dropping the kids off at a friend's. (Thanks, Heather!)  The restaurant was SO. GOOD.
We also fed the kids lunch at Sonic. (so we don't ALWAYS eat healthily.. just mostly.)
Lastly, since tomorrow hubby has the day off, we're taking the kids to the children's museum and then to Chick-Fil-A for lunch.

So that's more than we usually eat out.
We aren't perfect, for sure.
Our thinking is, if we eat pretty healthily at home 95% of the time, it's okay to indulge every once in a while and eat food that isn't as good for us.

Do you plan your our your meals? Are there any tips you'd like to share? I'm always up for learning better methods! :)
Hope you all had a great Valentine's Day!


Monday, February 6, 2012

Thrifted Finds

Yesterday afternoon, our family went on an impromptu visit to the thrift store.
Typing out the word "thrift" looks kind of weird, but I think I'm spelling it right.  ;)

Going to the local thrift store (Goodwill, Salvation Army, independent second hand stores) is a great way to find treasures that you may not feel comfortable paying full price for (or just plain can't afford!). Also there are usually really cool vintage things there that aren't sold in stores any more, so thrifting is a good way to add one-of-a-kind style to your home for a fraction of what you'd pay otherwise. Of course, you have to sift through the duck clocks and grandma sweaters to find the good stuff, but it's kind of like a treasure hunt.

 We  managed to find some great things yesterday and I thought I'd show them to you!


I'm pretty excited about these books- they were around $ 0.75- $1 each! I've been wanting to get a few classic chapter books and begin reading them aloud to the children and thought that "Charlotte's Web" would be a perfect one to start with. The kids love animals. I read the first chapter to them last night in the car while Tim ran into Kroger for a few things before the big game, and the kids really enjoyed it.
We've been wanting to get "The Chronicles of Narnia" too, for us to read and then the kids to read when they're a bit older. I think it would be a little too scary for them now, but I'm looking forward to sharing those classics with them in the future. I remember reading all 7 books as a kid, and I really enjoyed them. I hope they enjoy them as well.
 Tim read "The Road" a couple years ago, just before the movie came out. He went and saw the movie (I didn't; it was too graphic for me to handle) and he's been wanting to get this book as well.


Tim also found this pair of Italian Leather shoes, for nine dollars. What a deal! He has a hard time finding nice shoes in his size (13) so when he does, we take advantage of that. This particular thrift store seems to have regular big-footed donators, because last time we went, he found a pair of Merrells similar to these that were only $10! It's amazing what good brands get donated and sold for - I love thrift stores!


Thrift stores are also a great place to find inexpensive fabric. I got this blue and white striped fabric for a dollar! I think it's a 54" length, and there are at least 2 yards of it. Score!! I'm thinking about trying to make a dress for summer out of it, that kind of looks like this one:

source


Finally, I found this cute cropped jacket that is from Ann Taylor Loft.
I've been wanting something that is kind of spring-y and this fits the bill perfectly!
It has nice detailing on the back and sides, and the best part? It was seven dollars. Yep.
I'm going to pair it with skirts or dresses, I thought it would be nice to go over a tank top if it's not quite warm enough to go completely sleeveless, but still warm enough to wear short sleeves.


I also found a wooden spoon  for $0.45, but didn't get a picture of it. You know what a wooden spoon looks like, right? (hehe!)
I've bought so many of them, and they always snap right in the middle of mixing up cookie dough. I hope this one will last longer, as it has a thicker handle. :)
All together at the thrift store, we spent $25.25 . Not bad, for what we found! I'm happy with it.

Do you like to shop at thrift stores? What do you look for, and what is your favorite thing you've found there?