I know I have. It's so disappointing to bite into that yummy-looking slice of cheesy goodness and find that the crust is either too doughy or so hard that you feel like you might break a tooth.
Believe me, I've done that many times!
Or, maybe you have never made a homemade pizza crust and always buy store-bought ones but have been wanting to try your hand at making your own?
(that was me a couple years ago, for sure!)
Today I'm going to share with you all one of my favorite pizza crust recipes. Actually, it's the only one I use anymore. It seems to be consistent at turning out just right- not too doughy, not brittle or rock-hard. I've made both thin and thick crust pizza with it and it does well with both.
I found this crust recipe on allrecipes.com.
(they're not paying me to talk about them, but they do usually have great recipes on their site.)
You do have to make this a bit in advance as it takes an hour to rise; so keep that in mind.
But if you plan ahead, you can have delicious, homemade pizza crust for a fraction of the store-bought variety. It's healthier by a mile and a half and I think it tastes better too.
Here is the link to the original recipe.
These are my words but the original measurements, general instructions, etc.
Jay's Signature Pizza Crust
Makes 2 pizza crusts
Mix 2 1/4 tsp dry active yeast (1 packet) and 1/2 tsp sugar into 1 1/2 cups warm (110-115F) water, let sit til bubbly and fermented smelling. (about 2 min.)
 |
| When you first add the yeast this is what it will look like. |
 |
| Then you let it sit, and it looks like this. It kind of looks like little explosions going off in the water. The kids love to watch this part. :) |
Stir 1 tsp salt, 3 1/3 cups of whole wheat flour together in a large mixing bowl.

Add 2Tbsp olive oil and water/yeast/sugar mixture to flour.

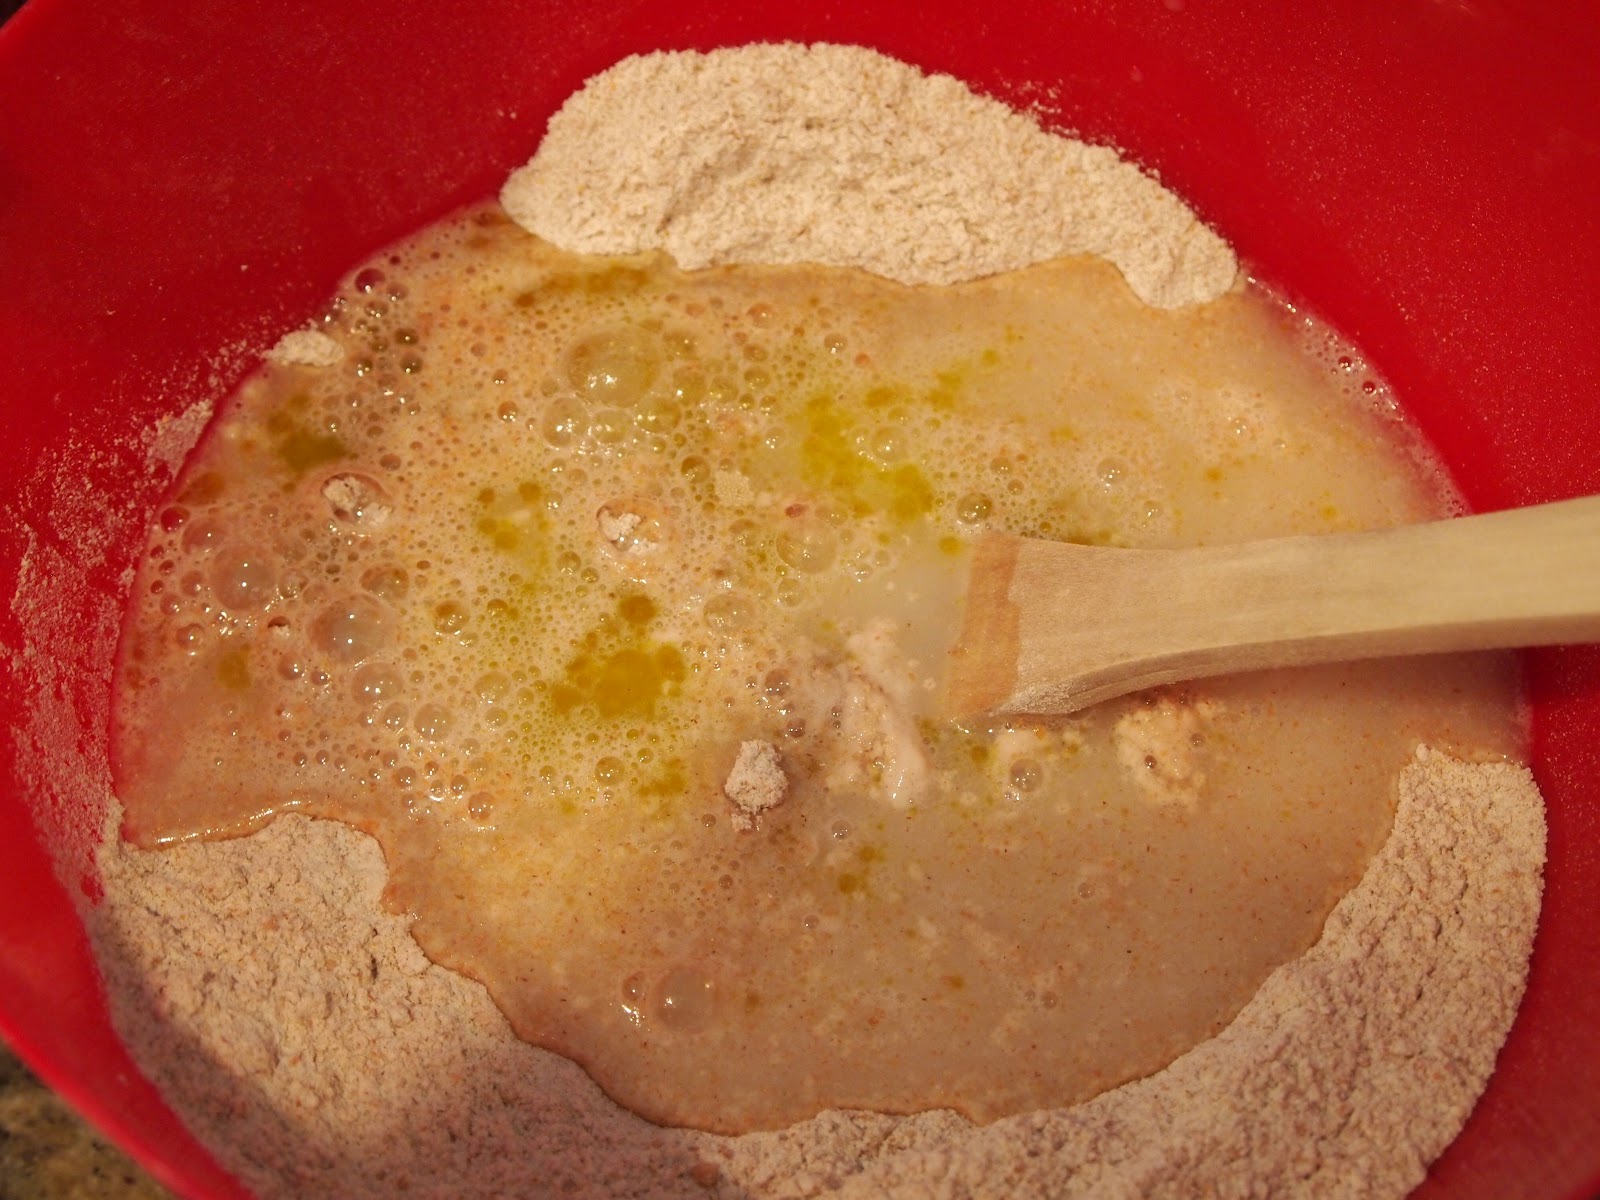
Stir stir stir, till most of the flour is worked into the dough.
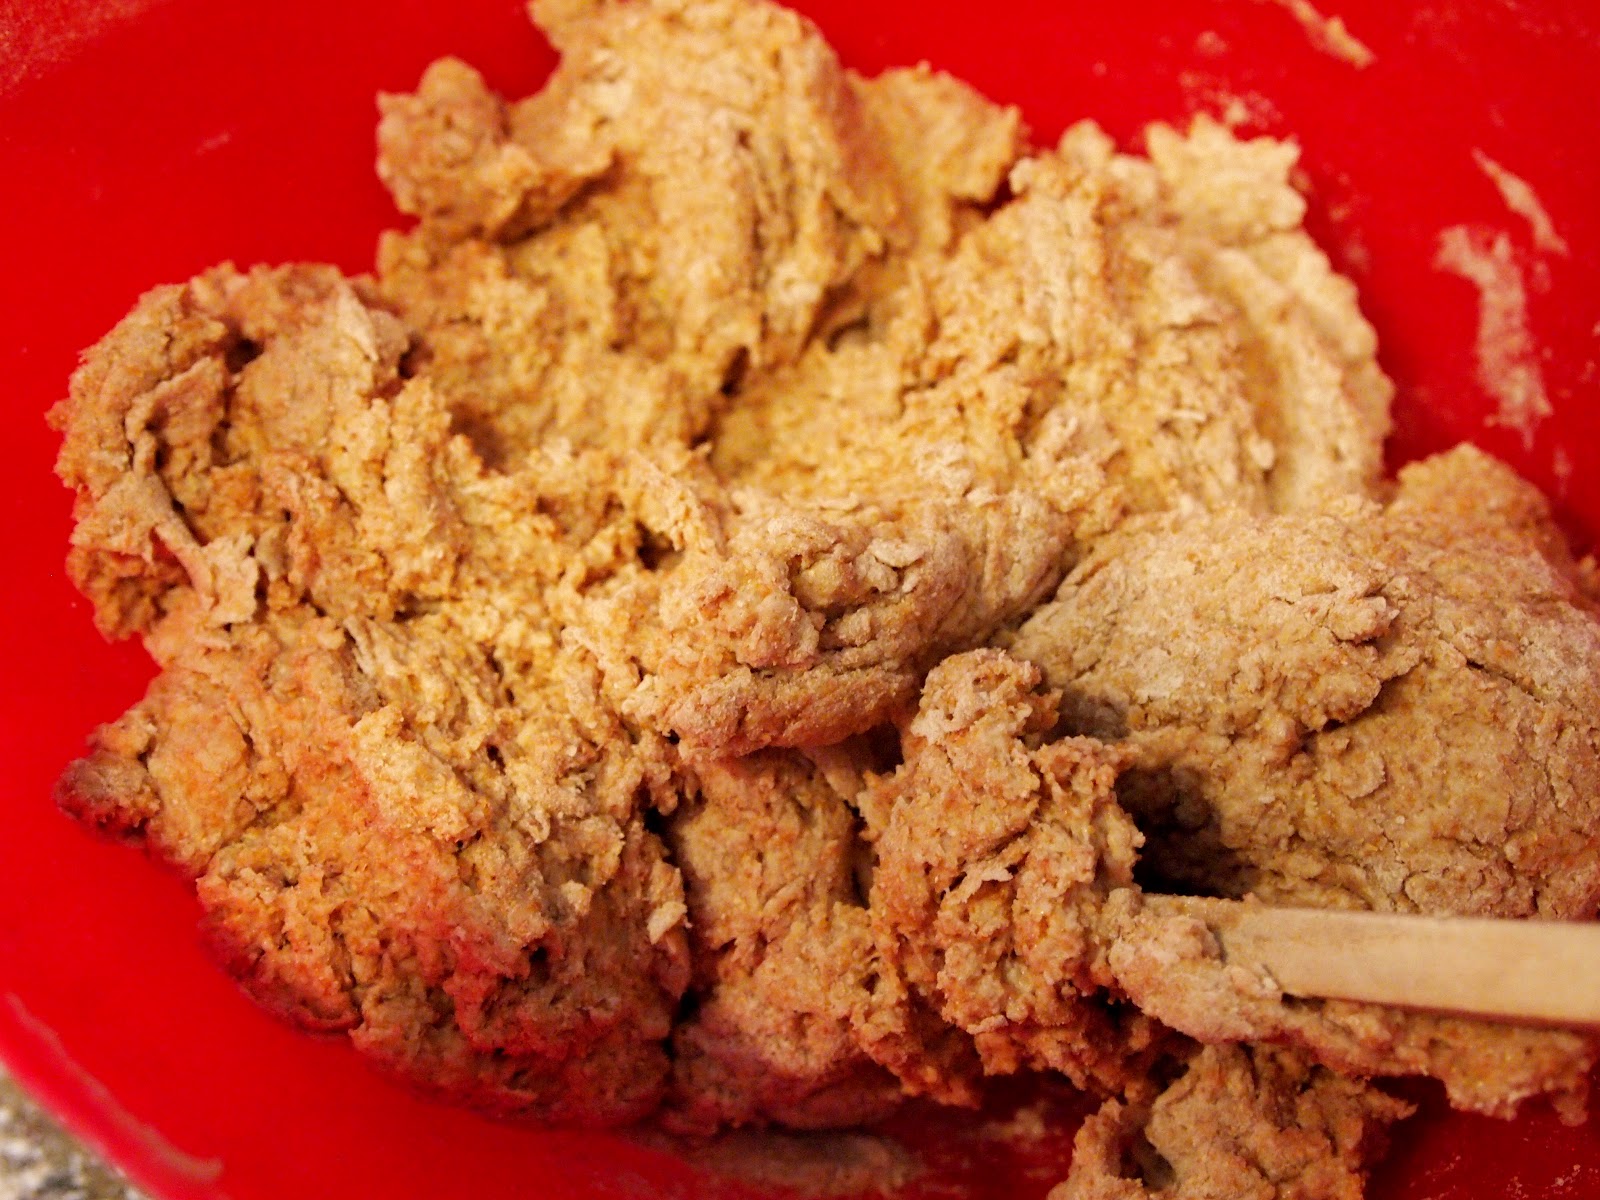 |
| Your dough will look something like this. |
On a floured surface, knead dough til it is no longer sticky and is smooth and supple, adding more flour as needed.
 |
| The dough starts out looking like this...raggedy and sticky. |
 |
| And ends up looking like this beauty. I just want to eat it up! |
Return to the bowl, cover with a towel and let rise in a warm place for 1 hour, til dough is doubled in size.
 |
| It's kind of hard to tell, but it's all puffy and conformed to the bowl shape now rather than being a nice ball of dough like it was in the last picture. |
Punch down your dough.
If you want your kids to help out, now is a good time for them to.
They love punching their little fists into the dough!

Allow dough to rest for a minute.
Divide dough in half, roll to desired shape and thickness on a pizza pan or stone.
(Someday, I will have a pizza stone. Or a few of them.)
Top with sauce, spices and your favorite pizza toppings.
As far as spices go, use whatever you normally use.
I sprinkle basil, a bit of oregano, parsley, garlic powder, and sometimes pepper on there.


Some of our favorite pizza toppings are:
Pepperoni (we use uncured, nitrate and hormone-free pepperoni and seriously it is sooooo good!)
Onions and Sweet Peppers
Turkey or ham and pineapple
Roast beef and Swiss cheese (sounds weird, is really good!)
Feta, Parmesan and Spinach
Get creative and use whatever you have in the fridge. It's fun to try new combinations of toppings and come up with something delicious!
Once you've got your pizzas all ready to go, bake them in a preheated, 425F oven for 15-25 min, or until the bottom is crispy and your cheese is all ooey-gooey and bubbly. Enjoy!!
 |
| Roast Beef and Swiss Pizza |
 |
| Pepperoni |
*Note: if you want your pizza crust to be extra crispy, add cornmeal instead of flour as you are kneading the dough. This gives it a lot more crunch and a nice crispy crust. Then, just make sure to roll out the crust nice and thin and you've got yourself a crunchy delectable pizza.
This post is shared at Mind Body and Sole's Wildcrafting Wednesday.
No comments:
Post a Comment